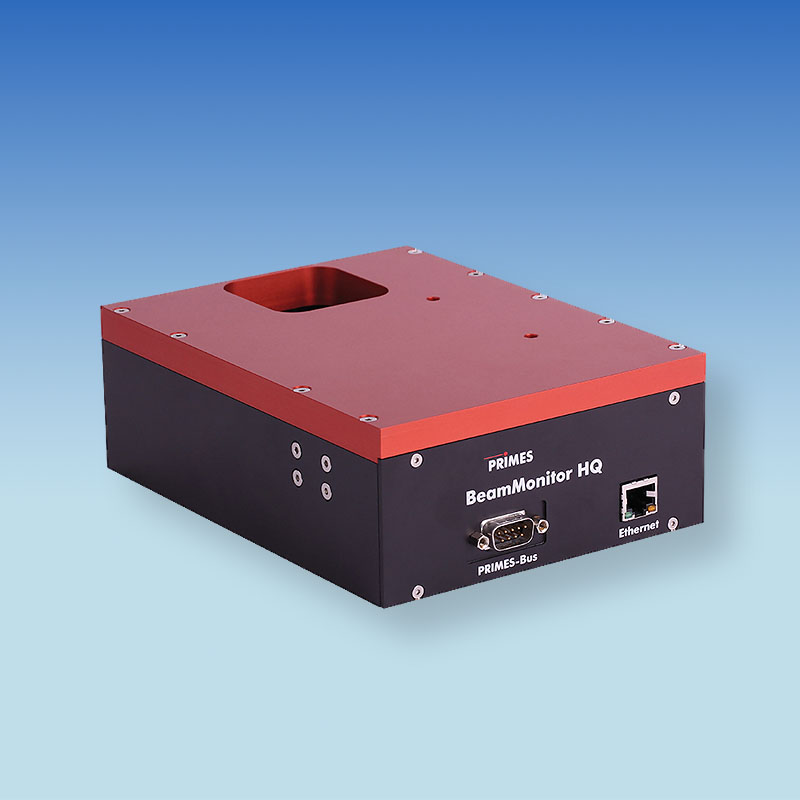
This reference system for raw beam diagnostics of CO2 lasers has been used successfully for a number of years. In fact the PRIMES BeamMonitor-HighQuality (BM-HQ) replaces the typical plexiglass burns used to identify the beam profile or beam symmetry.
The diagnostic device enables quick measurement with high precision. This is guaranteed by a detector with a high dynamic range.
The BM-HQ is the perfect device for analyzing your laser beam. The mechanical scanning system measures the power density of collimated laser beams at full power.
Due to its compact design and light weight, the BM-HQ is ideal for integration into material processing systems and for use in servicing.

Overview
The laser beam is scanned point by point with a rotating measuring tip. The mirror mount is also moved in a linear fashion to scan the entire beam profile. In this way, a partial beam is diverted and directed at the detector in each instance.
The incoming signal is digitized and transmitted to the evaluation unit. The 14-bit A/D converter and resolution of up to 256 x 128 pixels employed enable an exact analysis even of small disturbances in the raw beam. The device was designed for use in harsh industrial manufacturing conditions and is adaptable in every spatial orientation.
The software has the following standard functions:
- Measurements: Single, serial measurements (monitor operation) and measurement of chronological development (linescan)
- Displays: Isometry, false colors, contour lines and display of numerical results
- Data saved in *.foc or ASCII file format
During the measurement, the entire beam exits the BeamMonitor and must be absorbed as completely as possible.
Measurement
-
- Beam position
- Beam dimensions
- Beam symmetry
- Power density distribution
The device is operated from a PC. This enables the entire power density distribution to be represented within a few seconds. With an Ethernet connection, a maximum repeat frequency of 0.4 Hz is possible.
With the linescan function that is optionally available, the BM-HQ works at a repetition rate of around 30 Hz.
Operation
Various application-specific solutions are available for operating the BM-HQ. There is a graphical operating interface in Microsoft Windows®. The data transfer between the measuring devices is based on the RS485 protocol; hence cable lengths of over 50 m are possible. For programming via PC, the signal is converted to RS232 via an interface converter. An Ethernet connection is available for the BM-HQ.
The following functions have also been implemented for special applications:
- Checking of beam symmetry
- Various colour scales for false colour representation
- Alignment mode, which retains the results of the last 2(3) measurements on the screen
- Measurement results written directly to database via log function
