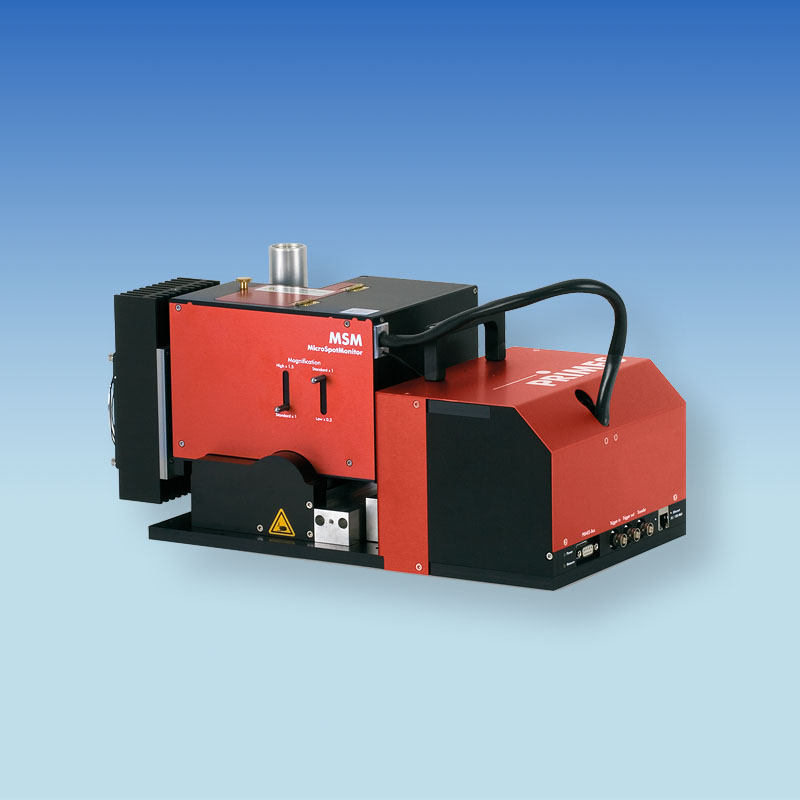
The PRIMES MicroSpotMonitor (MSM) is the ideal tool for checking, monitoring and approving very finely focused laser beams, such as are used for example in micro-material processing. The MSM automatically measures and analyses the spatial beam distribution all around the focus in various z positions.
The focused laser beam is a significant determinant of the quality of the manufacturing result. In most laser material processing, it constitutes the actual tool. The task of the MSM is to certify and monitor this tool for laser systems which are used in micro-material processing. Through regular measurements, any changes in beam profile, focal position or beam dimensions, among other things, can be identified and logged. The results not only assist failure analysis but also the optimization of a process in microprocessing. The various possibilities for using the MSM provides operators with a wide variety of problem-solving approaches for their applications.

Overview
The MicroSpotMonitor determines beam parameters of focused laser beams of lasers with average powers up to 200 W in the range from 20 micrometers up to a millimeter directly in the process zone. The purely air-cooled system images the laser beam, attenuated via various beam splitters and neutral density glass filters, on a CCD sensor. The beam position and beam radius are derived from the beam distribution of a level determined in this way. With the help of the integrated z axis and measurement at various positions of the laser beam, the described beam parameters are determined and recorded.
The measurement optics of the MSM are selected individually, depending on the beam source to be measured. Crucial factors here are the wavelength (248 to 1090 nm) and the enlargement determined by the focal diameter (3:1, 5:1, 15:1).
The dynamic range of the integrated CCD sensor is expanded via an exposure time control to over 130 dB, enabling measurement of caustics over more than 4 Rayleigh lengths, as required by ISO 11146. The MSM can be supplemented with an optional filter wheel fitted with a neutral density glass filter (OD1 to OD5). This filter wheel enables the measurement of power densities in the range of a few W/cm2 up to several MW/cm2 without the system having to be modified.
Measurements
- Beam distribution in the individual measurement levels
- Focal dimensions
- Focal position in space
- Rayleigh length
- Divergence
- Beam parameter product BPP
- Diffraction index M2
The measurements are carried out in conformity with ISO 1146.
Operation
Two alternatives are available for the operation and control of the MSM:
- The PC-based LaserDiagnosticsSoftware LDS makes it possible to measure the beam distribution in the focal area manually and semi-automatically and to determine the beam position and beam dimensions
- Scripts semi-automatically control the MSM, for example for repetitive measurement problems in servicing, quality assurance and acceptance inspection. They are individually adapted to the measurement process at hand. Advantage: Through programmed user guidance, the requirements for operating the MSM can be significantly reduced
Accessories
- Depending on the beam parameters, there are three different optics to choose from:
– 3.3× MOB (measurement optic)
– 5× MOB
– 15× MOB - All optics can be supplied for the following wavelength ranges:
– 340 nm
– 360 nm
– 515 nm
– 545 nm
– 1030 nm
– 1090 nm - Further wavelength ranges can be measured by adapting the coatings on the lenses
- Interchangeable fixed neutral density glass filters to attenuate peak powers of pulsed and UKP lasers
- The filter wheel fitted with neutral density glass filters (OD1 to OD5) enables changes to be made conveniently to the measuring range of the MSM
- The LaserDiagnosticsSoftware provides the option of evaluating measurement results and monitoring thresholds
- The LaserDiagnosticsSoftware also enables the use of alternative beam radius definitions: 2nd moments (standard), 86% power inclusion (standard), slit method, knife-edge test, Gaußfit process, 86% power density decline, two additional power inclusion methods with freely selectable power threshold
