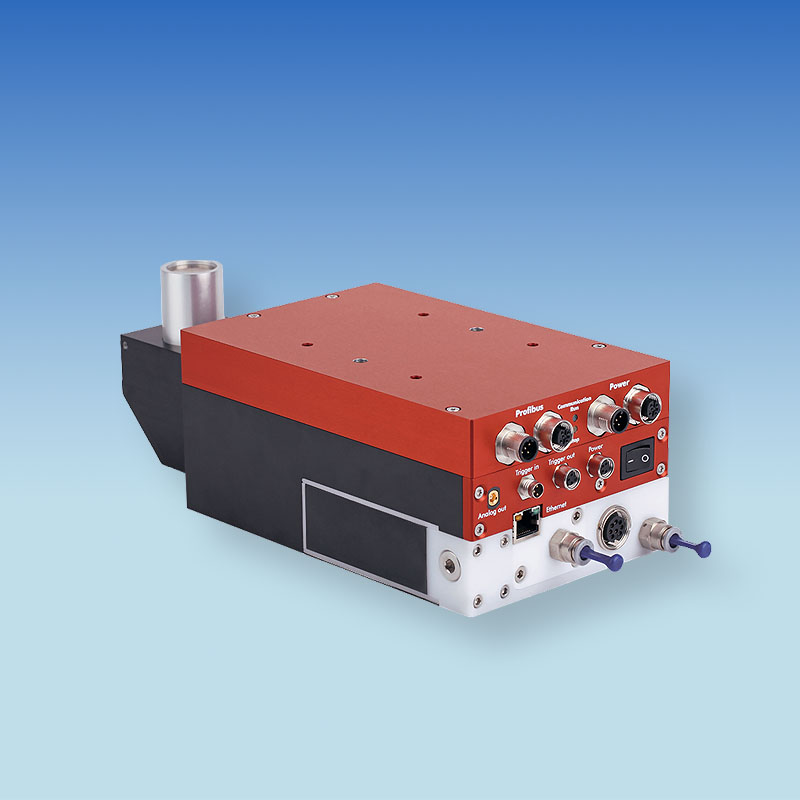
Developed specifically for microprocessing system, the PRIMES MicroSpotMonitor-Compact (MSM-C) expands the product family of camera-based focus analysis systems by a measuring system that is compact and modular.
Optimized For Microprocessing Plants
The MicroSpotMonitor-Compact (MSM-C) was optimized specifically for restricted installations spaces in microprocessing systems. The dimensions of the camera housing with electronics, attenuation and power absorber are around 230 x 120 x 60 millimeters (L x W x H). The compact device does not have its own movement axes.

Overview
The laser beam is enlarged by means of measurement optics, attenuated over two beam splitters and imaged via a deflecting mirror onto a CCD sensor. If necessary, an additional filter can be installed in front of the sensor. The beam geometry and power density distribution are measured by the CCD sensor. The measurement data is transmitted via Ethernet to a PC and evaluated with the PRIMES LaserDiagnoseSoftware. Optionally, the data can be determined internally by the device and transferred via a PROFIBUS interface to the plant controller.
Measurements
The power density distributions (of one single cutting plane), the beam dimensions and the orientation of the beam in the measurement plane are measured. Dependent on the local resolution chosen, repeat measurements can be carried out with a repetition rate of up to one Hertz.
In conjunction with an external z-axis:
- Focal dimensions
- Focal position in space
- Diffraction index M2 (Beam propagation factor k, beam parameter product)
- Rayleigh length
- Far field divergence
In use
Three alternatives are available for the operation of the MicroSpotMonitor-Compact:
- The PC-based LaserDiagosticsSoftware LDS makes it possible to measure the beam distribution manually and to determine the beam position and beam dimensions
- Scripts semi-automatically control the MicroSpotMonitor-Compact, for example for repetitive measurement problems in service, quality assurance and acceptance inspection. They are individually adapted to the measurement process at hand. Advantage: Through programmed user guidance, the requirements for operating the MSM-C can be significantly reduced
- The PROFIBUS option enables fully automatic measurement operations. Through connection to the machine controller, the measurement processes can be completely controlled from machine programs. A PC can be dispensed with for this option
Data Transmission by Ethernet or PROFIBUS
Data transmission between PC and MSM-C is via Ethernet. With the PROFIBUS option, measurement results are transferred to the machine controller. If required, the image of the last measured beam distribution can be retrieved via Ethernet from the web server, which is integrated into the MSM-C.
Alternatively, the image of the beam distribution and the measurement results can be supplied in tabular form via an FTP server.
Models and options
- MicroSpotMonitor-Compact with 3.3x magnification (1064, 532 nm)
- MicroSpotMonitor-Compact including bending mirror for perpendicular beam incidence at low working height with magnification 5x (semiconductor industry)
- MicroSpotMonitor-Compact including overhead mounting for perpendicular beam incidence with minimum footprint with magnification 6.6x (SLM, SLS)
PROFIBUS Options:
- Web servers
- FTP-Server
Accessories
- Attenuator for 1064, 532 nm: OD1, OD2, OD3, OD4, OD5
- Cyclone for all measuring objectives
- Protective window for measuring objective
- Overhead mount
- 90° beam deflection
- Alignment aids for measuring objective and protective window mounting, suitable for the respective measuring objective
